Hello Everyone. Welcome to
my blog.
Today I will be showing you
my pretty blue apron. From start
to finish only took 2 hours! Now that
is what I call - fast!!
I like fast projects and I hope you do
also.
I will give you the tutorial on this posting
in case you want to try it.
I am so pleased at how good it turned out.
This is my finished apron. Some time ago
I had bought a used 100% linen skirt, a
size 4 from the thrift store. No, I wish that
I could have worn it cause I love linen. However
there was a time that a size 4 was too big for
my body - not the case now. Anyway I want
you to know that it does not matter the size
of the garment only that it has a lot of fabric.
This skirt did not have any holes in it and it
only cost me $2 and 50 cents when I bought it.
Also sometime ago I had bought a spool
of lace which cost about $3.00 - cheap lace!
The directions are not hard - just many!
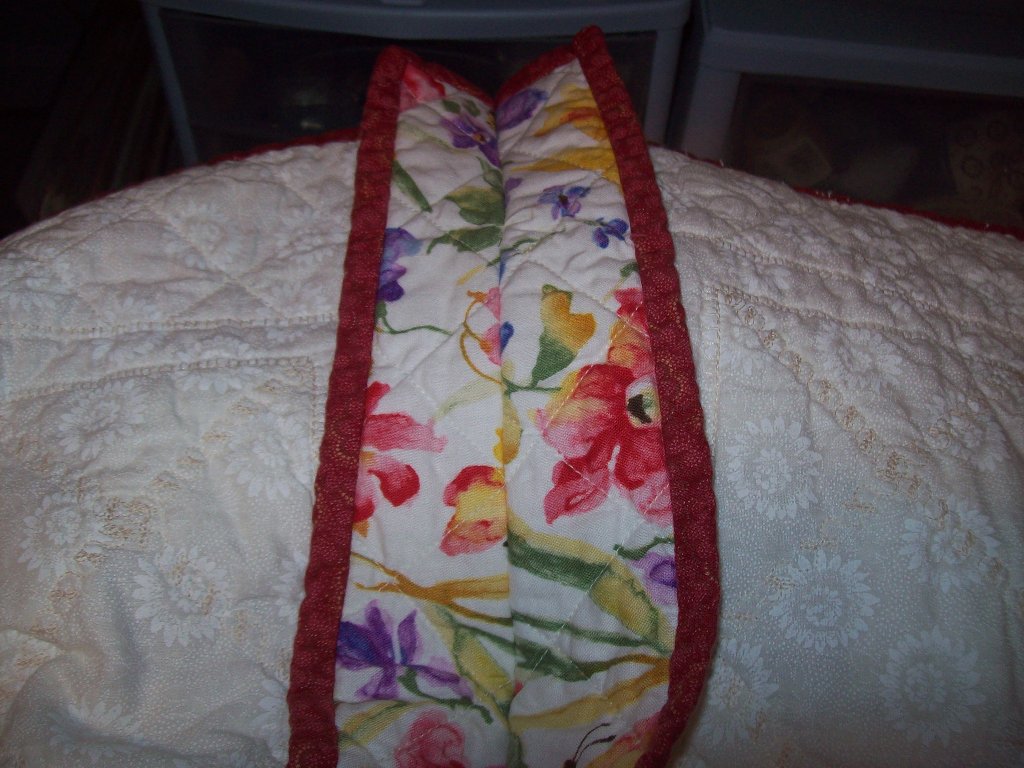
This is the front.

The fabric is a pretty blue.
Here is the back.

This is the bottom of the apron strings.

This is the skirt before I cut it up. It
was long.

The color is a baby blue but just a tad darker,
not as dark as what the pictures show.

This skirt was not hemmed on the bottom. It was
made like this. The ruffles are also not hemmed.

The top had a drawstring which I used.

Look who made this pretty skirt. It must
have been expensive. Anyway this size did
cover my body for an apron.

This is what I did. I placed the skirt on my
kitchen table. This skirt had a side seam on each
of the sides of the skirt. The front and the back
did not have any seams. I took the side seams
and matched them up and I cut down the middle
of the back of the dress. Do not cut the seams
unless you have planned on how to cut and
wear your apron. You can tell by the scissors
that I just cut up from the bottom to the top.

See here it is cut.

Once you cut it like that - then it is
a big piece of fabric. Now what you cannot
see is that this fabric has 2 seams which will
hit your sides once sewed.

I used a quick and easy apron as a guide. I did not
place the dark blue apron all the way to the bottom
of the skirt.

Next, I cut me about 3 inches off of one side. This
is one of my apron strings. Cut this strip as wide
as you want.

Then, I came to the arm section. I
determined how much I wanted to cut off
by judging the seams.

In the end I decided about 3 inches would give me
plenty because I felt that the dark blue apron was a
little short in the front. So the added 3 inches will
help make the apron a little wider in the front like
I want. Then I cut it off - but only on the one side.

Go to the other side of the blue skirt and lay your
already cut apron string on top. Use this as a
guide.

Cut the other apron string out.

This is what it will look like. No apparent change.
Now the right side under arm has to be cut.

Take the piece that you cut off from the arm on left side. Use this
piece also as a guide. Put it on top of the fabric and
cut around it. These are your pockets.

At this point pick up the skirt and go to the mirror
with some pins. Just pin each pocket on with one
pin. Place the apron back down on the table and
straighten the pocket and pin it down. Make sure
that they are placed evenly apart. Angle them if
you want to. Notice that these pockets are already
hemmed.

Take all of it to your sewing machine and
by the way, be sure to cut off those tags.

I started with the apron strings. Just fold one
in half and sew down the length of it. Turn when
done. Then do the same with the other apron string.

See, these are my apron strings. I am not going to
hem the bottom because the skirt is not hemmed. Love
those ruffles.

Now it is time to sew on the pockets. REMEMBER
THIS - ALL SEAMS ON THIS APRON ARE
TURNED TO THE FRONT INCLUDING THE
POCKETS!! NO SEAMS ON THE BACK.
TURNED TO THE FRONT INCLUDING THE
POCKETS!! NO SEAMS ON THE BACK.
This is how I did both pockets. With the pocket
still pinned in place, fold a hem to the front of the garment,
finger press, take your lace and fold over
the top of the pocket and pin it down on top of the
folded edge to the skirt. Fold the pocket hem and lay the
lace on top and sew down as you see here.This hems as you go.
ALSO NOTE, THAT ALL OF MY LACE POINTS
OUT AWAY FROM THE POCKET AND APRON.
MAKE SURE THAT THE LACE FACES CORRECTLY
BEFORE SEWING IT DOWN. You do not want
to have to pull out any threads as this could damage
your lace.

I hope that this picture lets you understand it better,
just in case I have confused you.
See the cut edge, fold it in and lay the lace on top
and sew all around the pocket. (You can also choose
not to hem the pocket and just lay the lace on top
and sew down. Be sure to use a small running stitch
for added strength).

When you come to the end of the pocket, cut off about
an inch and turn it under the top so it is caught in the
seam on the inside of the pocket.

Finish both pockets.

I have enough lace to do the top and all of the sides.

Now go to the top and turn under the front
seam TO THE BACKSIDE. This is because
of the holes of where the string once was. This
is the only seam to be turned to the backside.

As you can see I have sewed it down.

Turn the apron to the front side and sew on a strip
of lace on that seam and be sure to cut enough of
the lace on the edges to turn to the backside.

If there are any little dog ears from seams, just cut
them off. Mine had dog ears, yours should have
them also if your skirt had side seams. This part
is the arm area.

Again, you must fold your raw edge seam onto the
front side.
I pinned the lace along one edge so I could start sewing.
(Again turn your lace down to the backside over your
raw edge).

I did the other arm also in the same manner. The
top and underarm areas are done. SO FAST!!

Now, it is time to sew up the side edges. Turn your
fabric edge to the front and pin the lace on top to
hide your seam. If you need to, pin all the way down.
If you have the kind of apron that
I have then look at it for the placement of where to
put the strings. Apron strings are located around the under
arms to go around your waist.
Each apron string
arms to go around your waist.
Each apron string
only has one seam. Finger press the seam along the
edge of your desk and make sure that the seam
faces down towards the ground. Pin this apron
string under the lace as you see here before you sew
it down.

The string that I pulled out from the waistband of the
skirt will not become the band around the neck.
The string was long - I cut off 20 inches. I knotted
the one cut end.

I sewed them down at the top on both sides on the front
as this is how I liked it.
Plenty of neck room to get on and off. Plus I do not
have to buy anything extra. If you have an old apron
and want to use the hardware that comes with it, then
buy all means change the plans of this neck string. Do
your own thing at this point.
have to buy anything extra. If you have an old apron
and want to use the hardware that comes with it, then
buy all means change the plans of this neck string. Do
your own thing at this point.

Another picture - Looks sweet to me.

I hope you like what I have done.
Try it!!
Also if please you do this, then
refer back here as a link.
Thank you for visiting me.
Hopblogger