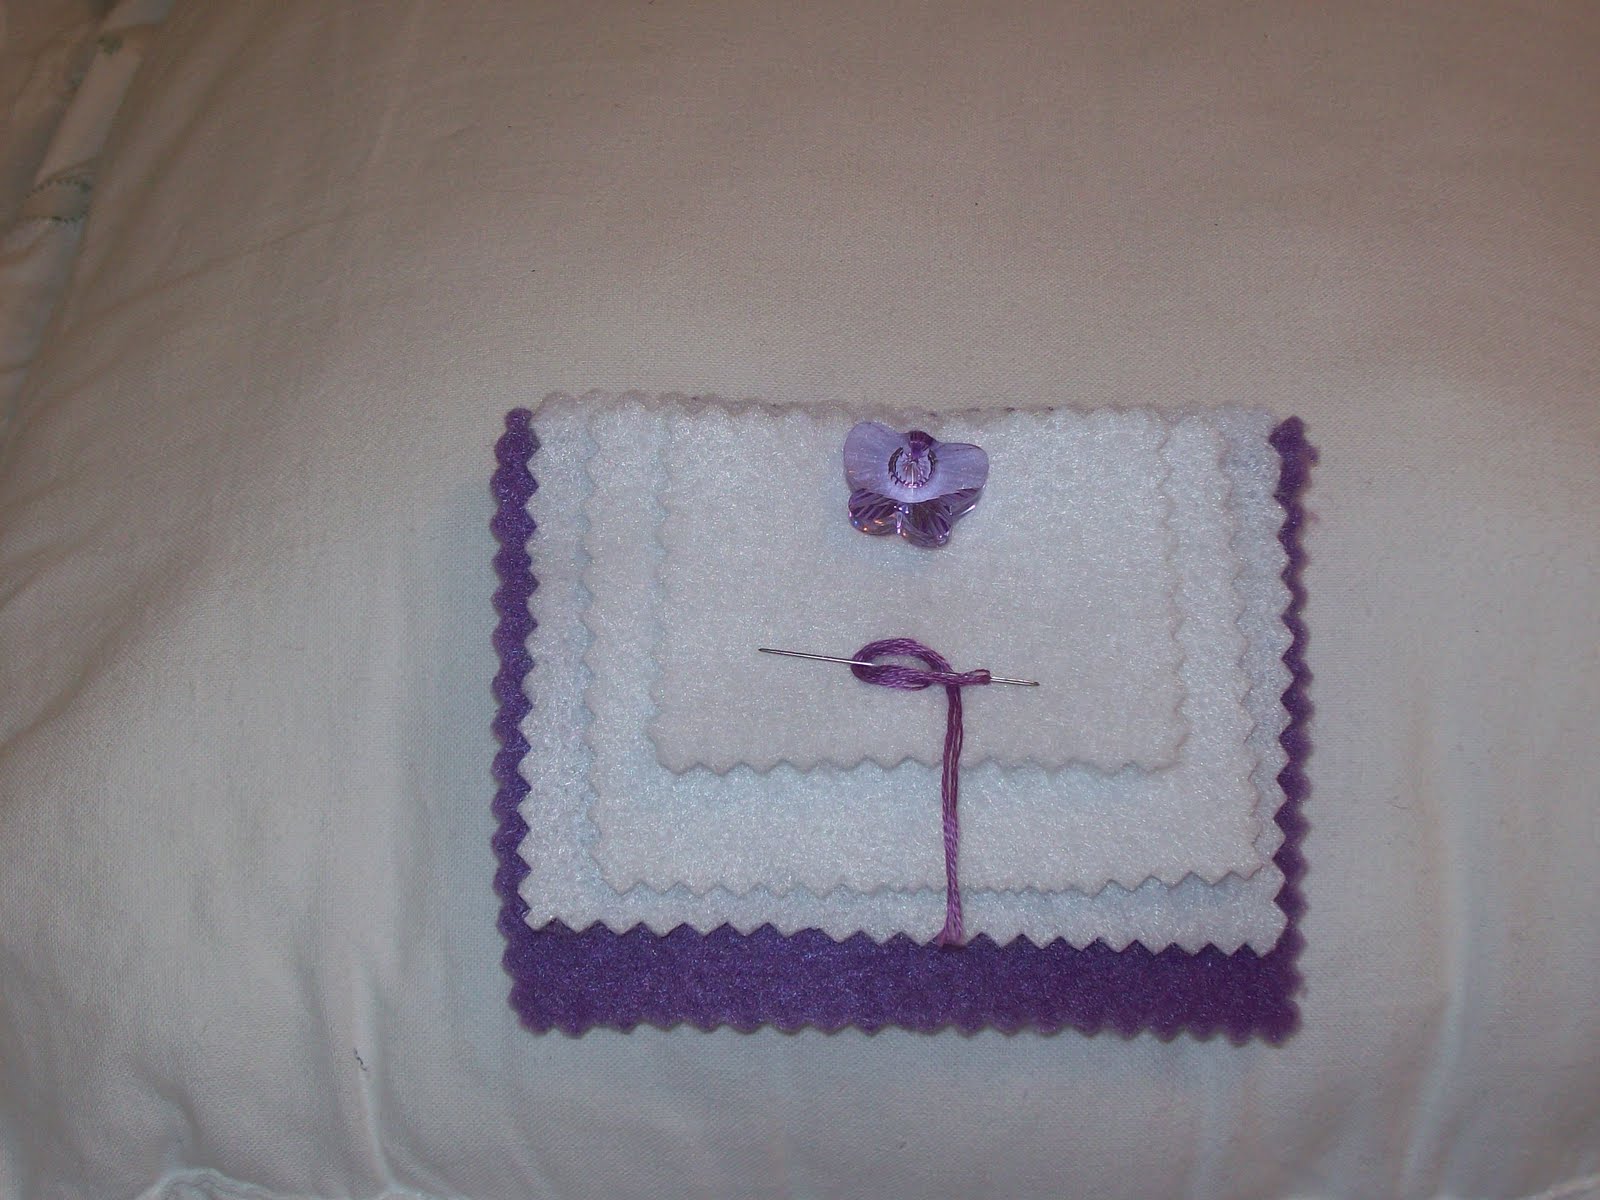
Showing posts with label Needlebooks. Show all posts

Sunday, November 27, 2011

Sunbonnet Thimble Holder

Have you ever visited the website
Well they have really cute needlebook
photo's with patterns free for your use.
Some of them are so darling. For a while
now I had been looking at the 1936 pattern
of the Sunbonnet Needlecase. For most of us
we remember the Sunbonnet quilts. I made
some of those in my time and gave them away.
Take a look at this Sunbonnet Needlebook.
Hey - I do admit being a CHEATER. If there is
anyway that I can make it in 5 minutes then I
am happy. This Sunbonnet belonged to a doll
that had a very pretty matching dress and
accessories. This Sunbonnet is not very big.
In fact it only measures about 3.5 X 3.5 inches.
On the inside I glued a piece of felt to the bonnet
to hold needles. However I mainly wanted the little
bonnet to hold thimbles.As you can see I have about
4 of them in this bonnet. It can hold more than that.
 If you want one of the Sunbonnet Needlebooks - you
could always find a larger doll that had a bigger
bonnet and convert it. It would be fast and east. You
could also add the little pouch to hold scissors, threads, etc.
But mine was too small to hold those items.
I think that I will put the rest of my thimbles inside
the little Sunbonnet.
I hope that you will think about the Sunbonnets
to hold some of your sewing supplies.
Have a great day and Thanks for visiting me!
Hopblogger

Tuesday, September 6, 2011

The Giveaway has ended

Hello Everyone!
I would like to thank you all for the nice
comments that you left me.  You all were
very sweet.  Also I would like to thank those
sweet ladies that sent me emails concerned
about my eyes enough to tell me their own stories.

Sorry that it took so long!

According to my doctor it is going to take
6 to 9 months for my blurriness to go away.
I have found that if I use this font then I can
see the words. Its still blurry but I can make out what
the words say.

I put all of the names in a plastic container.
It is easier to shake up that way.
 Shake, shake, shake!!
 And I pulled out a name.
 Becca is the winner!!
My email address is cwethington@nc.rr.com

CONGRATULATIONS BECCA!
YOU ARE THE WINNER!

Becca - if you will email me and give me your address
then I will mail it to you.

If Becca does not answer in one week - then I will pull
another name out of the plastic container.

Take care of your eyes!
hugs and kisses from conny

Friday, September 17, 2010

Do you need a fancy

needlebook? Does it take you hours to make? Yes everyone
would love to have beautiful things around them.
But when you dont have the time to make one
then why not use a fabric coaster. I have a set of 4
of these Daisy's. Pin your needles on
the front if you dont mind them being seen.
Or pin on the back into the felt. Another
option is sewing 2 of them back to back, be sure to
leave an opening to slip the needles in between.
by Hopblogger


Sunday, August 15, 2010

A Sweet White Angel Idea....

Hello folks and welcome to my blog. I have been working on a new biscornu
pattern but havent finished it yet. So in the meantime I hope that
you like what I will be offering you. The little angel is a christmas
tree ornament that I have had for some time. Its just been hanging
around - too pretty to put away in the christmas bin. So i made a small
round pincushion - nothing fancy. It has lace sewn down on the sides
but the angel is a little surprise. Yes turn it over & it becomes a needle
holer or a pin holder. Just sew a piece of white felt on to the back. The
stitching doesnt have to be great. I was obviously in a hurry & didnt
take the time to think. But you could take the felt edges & put
a blanket stitch on it - it would be so much cuter. Hang the pretty
angel on your sewing machine or anywhere close by. You dont have to
make a matching pincushion but I sure do like
sets of things. If I had the time right now - this would be the
perfect opportunity to cross stitch a matching angel
pincushion. Oh I wish I could. It is only then when
you feel that the project is done.
by Hopblogger


Sunday, June 27, 2010

This week

I just happen to like the colors of black & white with touches of pink.
I love Toile & this project just uses those tiny scraps of samples that
I obtained at the fabric store. I only had 4 small samples to work with.
Sometimes you have to take a break from cross stitching & do
something fun & different - also quick & easy.
The top was enhanced with a strip of thin black leather. A Yo-Yo
with little pink beads is stitched on with white thread.
Inside another tiny Yo-Yo holds a covered magnet. Its beads
match the ones on the outside front lid. White flannel is
merely draped on the inside. It is not tacked down.
The basket is tiny only measuring 6in X 6in so the pieces
inside had to be small. The box houses a small scissors fob, a tiny
pincushion & a small needlebook that supports only a couple of
needles. Just cut those samples in half with a pair of pinking
shears - except for the needlebook. The back of each piece
mirrors the front with the black toile. Sew 3 sides together a little away
from the edges, then stuff, then sew the last side. On the scissors
fob be sure to use ribbon or floss for the hanger part. I used the thin
black leather strip as what is on the front of the box. The
little flowers are of pink fleece with a couple of pink beads inside each.
Lately I have been using flannel & fleece.
by Hopblogger


Sunday, June 13, 2010

June's Purple Butterfly Biscornu

I hope you like them as much as I do. I would like to do a 12
month Butterfly series - but dont know if it will work out.
I guess I can try it. I am not a designer.
Already I have a few designs sitting on my program that look
promising. Dont have the time to
stitch them up to see if they work properly. I dont have
anything in purple so I thought this set would be great!
Instead of a button I placed a small purple butterfly in the
center on the front & the back. All of the butterflies
& the crystals are Swarvoski crystals. The butterflies
on the front have 3 small purple hearts on the tops on each side.
This butterfly would look very nice stitched in
pink with red hearts.
I cant take credit for the needlebk because I saw it on a
French blog (just love those french blogs), but it was only 3 pieces.
So simple it was - just my kind of project.
I decided to add a 4th piece to give it more dimension. The purple
needlebook is made from purple fleece & white felt. When you place the needle in it
& your hand rubs against the fleece - it feels so soft.
The matching scissors fob is just 2 pieces. It also has a small purple
butterfly that I tacked onto one edge.
Feel free to change
the colors. I would love to see yours when you finish. Pattern will
be coming soon.
by Hopblogger


Monday, June 7, 2010

Occasionally, I like to make....

my own fabric. Have you ever tried it. If not, all you do is
take a large square of white or unbleached cotton sheet or muslin. The
size of the square is up to you. For me, I generally use a
17inches X 17inches. This gives me plenty of room to make my
items small or large. Sometimes there is plenty left over for other
projects. After my square is cut - just take strips of fabric skinny or
fat and sew each strip down upon the square until the square is no
longer visible. I use scraps of fabric from many things.
(also be sure to catch all seams so there isnt anything missed).
Then just cut it like its fabric! You cannot mess it up.
My little sewing set is small. The square of fabric was half used up.
Also notice that I didnt hem anything. It is scrappy & fun!
So quick & easy.
All of these scraps are from the 80's. The ties are skinny
pink shoelaces that was in a prior garment of long ago.
The color was too pretty to trash. About time that I used them.
Everything fits neatly inside the bag. Maybe I should have lined
the bag? - nah. This way if I must fix the bag in the future
all I have to do is to sew a patch on top & it would be easy to
sew from the inside.
Try it - you just might like it!
by Hopblogger

Sunday, May 16, 2010

Just Love matching needlebooks

I just love simple matching needlebooks. Finally I have made one for
my Biscornu. Although it may not be a dog, a house, or a heart - I just
couldnt resist making a Sunbonnet Sue with my homemade
ric-rac. As you see she is only a little bigger than the Biscornu.
It is not fancy - but serviceable. The ric-rac is tacked down on the
purple fleece. The last photo shows her back. Most of the sewing
is underneath the red felt. Have fun!
by Hopblogger

Thursday, April 1, 2010

I hope that you like

this biscornu that I have named "12 hearts" in honor of my
sister who died of breast cancer. Stitched with my
favorite color of brown. For this biscornu I
used DMC 3371 black brown teamed with DMC 3689 pink.
Completing the set is a
matching scissor fob & needlebook. I like the look of the
tattered ties on the needlebook & it is simply made.
Keep checking back for the patterns.
by Hopblogger


Friday, March 12, 2010

30 minutes TOPS....

Imagine buying a piece of cross stitch from the thrift store. Thats
exactly where this cute rectangle came from. It was only 50 cents &
clean as a whistle when I bought it - never used. Of course it
was a fresh new piece - I added red felt to the back, trimmed off
the excess aida cloth, turned & stuffed it. Then top-stitched it in white
floss with big stitches. On the back I stitched a small triangle piece to hold the
scissors to hide the point. I like the plastic round ring that
holds the scissors but it can hold anything.
If you will click photo to make larger you will see that it is a curtain ring in which
it is slitted at the bottom. These types of rings are
used in fabric shades that attach to other rings to billow or gather
up the shade. Use to attach floss - there isnt any need to take the bands off of the floss
to attach it to the ring - it would slip on at the bottom & then snap shut.
If it ever breaks which I am sure in time it would - just sew on another one -
alot of these rings comes in a small package. Pins & needles can still be stuck
on the front side or the back side of the pincushion. The handy needlebook
is just 2 pieces of felt sewn together by the white floss. No need to turn under
the felt because it doesnt fray. Tie the rest of the floss into a bow. A makeshift
house pattern (with an uneven roof line) gives a coordinated touch. Then sew
a line down the middle of the book to indicate the line of closure. The pins
are stuck on a piece of red felt with a piece of the excess aida cloth behind it. I didnt
even sew this piece down - no need - the pins hold it in place. The other side
could be used for most anything that you choose to place there. Most likely the
next time that you see it open - I will have another piece of matching felt
& aida cloth to hold needles. If you have noticed - the aida cloth behind
the red felt is not cut even nor hemmed the reason is because I
wanted it to look like the front - quick & easy - no need for perfection on this
little needlebook. This pincushion & needlebook took only
a few minutes to make. Now if only I could find my snaps!
by Hopblogger


Tuesday, February 2, 2010

HOME DECORATING SAMPLES....

I always pick up a few of those whenever I go to the fabric store. Just cant resist it. They are my wanna-be's. Fabric that I want to buy a couple of yards of. Are you the same way?
When I started going thru some of those little 3 X 4 inch samples I noticed
that on some of them I had 3 or 4 of the same pattern. Oh! what could I do with this
I thought. Being a quilter there wasnt anyway I was going to get rid of those cute little pieces. This is the reason why quilters fabrics always, always double or triple & you can never hardly get rid of it all - because we cant stand to get rid of even the tiniest pieces sometimes. Well, those little samples can come in handy for a lot of LITTLE things. Take a
look at what I did with 4 of the same pieces from the same color family. If your samples are not all from the same color line then just mix & match with other fabrics. The first
photo shows you the 4 swatches I used. They look bigger than what they really are.
I took 2 of those samples, used one for the outside & one for a lining & made a 2.5 inch
wide by 4 inch long needlebook. It has 4 little pieces of blue felt
on the inside which holds safety pins & needles. The second page that holds the safety
pins is the clearest of all of the photos. Just couldnt get the other pics as clear as this one.
Sorry about that. (Often I take numerous pics to get clear ones - but that doesnt always
work with me). As you can tell with the real clear photo - I used a WALNUT SHELL
to make 2 small matching pincushions. It turned out so cute! I only used 3 of those samples,
now what I am going to do with the remaining 4th piece?? I guess that I could have
taken the 4th piece & stripped it making ties for the needlebook - but I didnt think about
that at the time when I sewed on the lace. Or you can save that 4th piece & apply it to
something else. If you have collected enough of those samples, you can always sew them into patches as big as you want to, & make a bigger needlebook, pincushion or bags out of them.
By all means use some of your cross stitch with it.
Dont forget about those free samples any longer - use them.
by Hopblogger