Monday, June 21, 2010

Yes Virginia,

we all make plenty of pincushions! Perhaps
I should have named my blog Pincushions, Pincushions, Pincushions.
Because I seem to make lots of em! But they are so easy to make.
And easy to give them away when you need to. I just had
this little candle holder handy. Dont do candles anymore.
Besides it looks better as a pincushion. Inside is chocolate color
flannel. I didnt even glue the pincushion down.
Next is a little blue ceramic jug. They are so cute.
by Hopblogger

Sorry about that

Just cant seem to find the pattern for June's butterfly.
by Hopblogger

Sunday, June 13, 2010

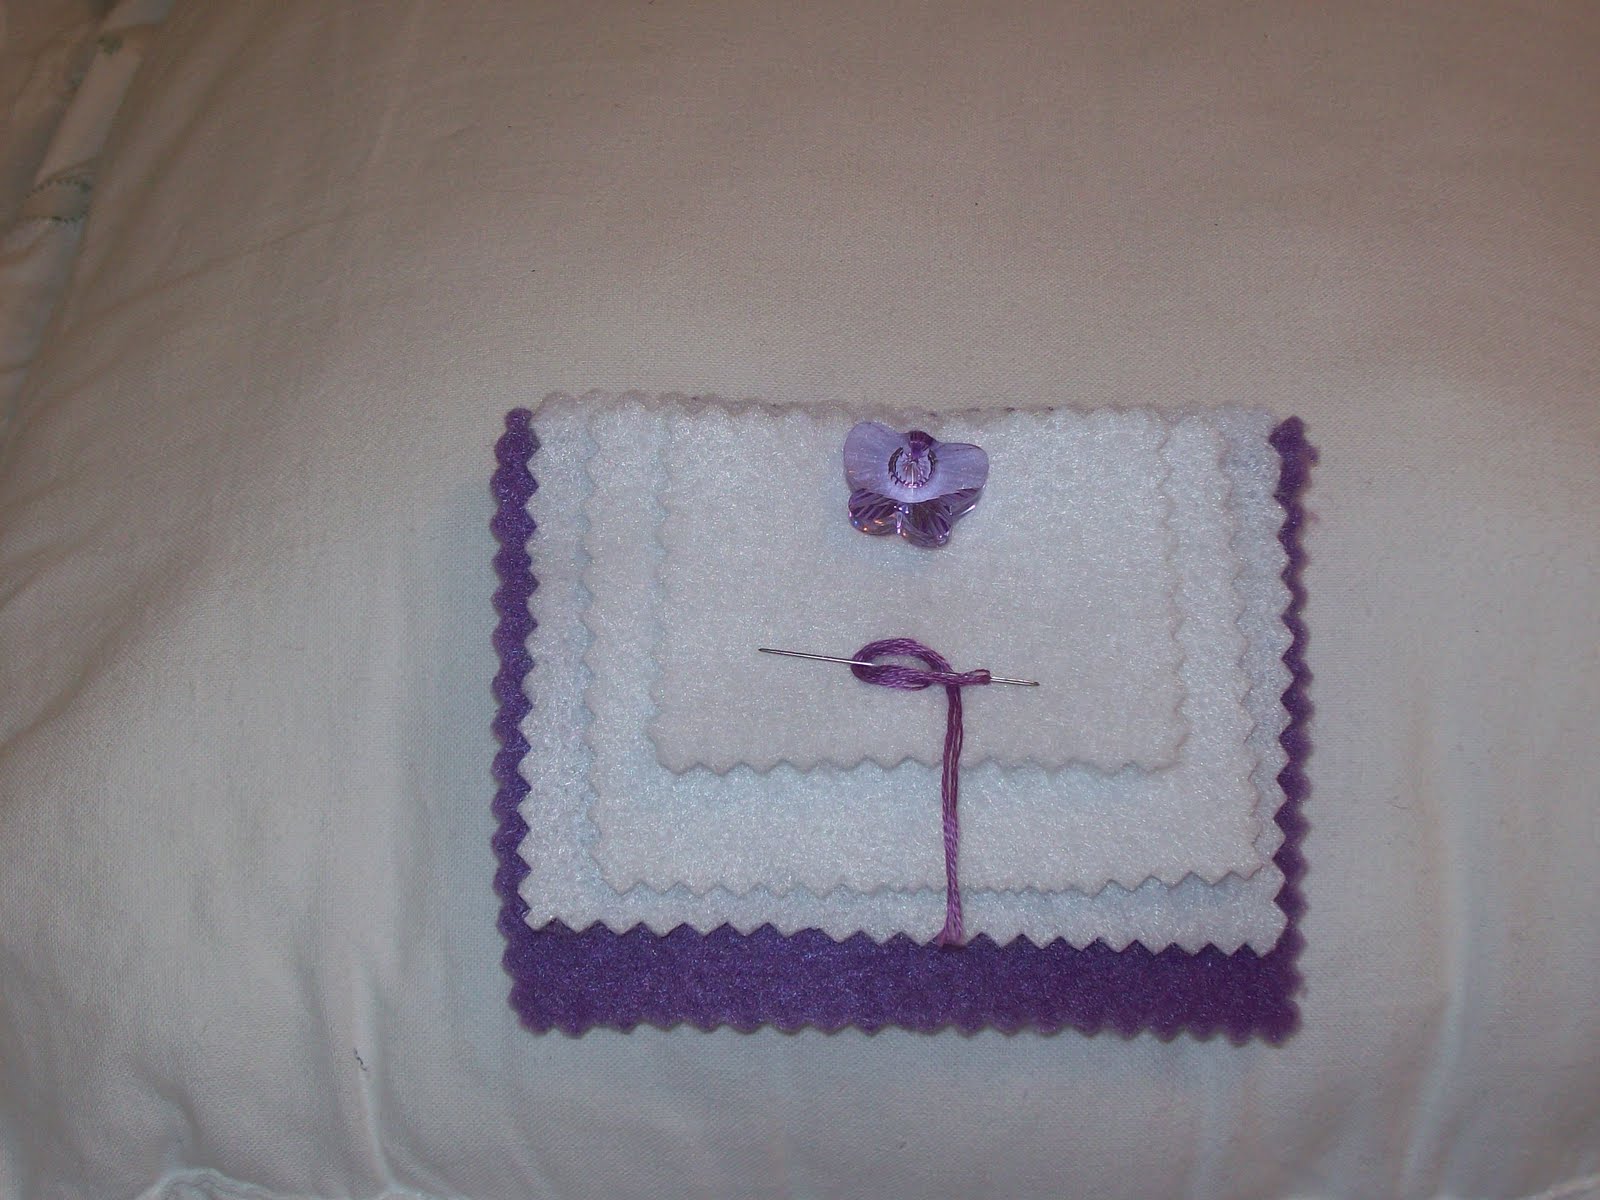
June's Purple Butterfly Biscornu

I hope you like them as much as I do. I would like to do a 12
month Butterfly series - but dont know if it will work out.
I guess I can try it. I am not a designer.
Already I have a few designs sitting on my program that look
promising. Dont have the time to
stitch them up to see if they work properly. I dont have
anything in purple so I thought this set would be great!
Instead of a button I placed a small purple butterfly in the
center on the front & the back. All of the butterflies
& the crystals are Swarvoski crystals. The butterflies
on the front have 3 small purple hearts on the tops on each side.
This butterfly would look very nice stitched in
pink with red hearts.
I cant take credit for the needlebk because I saw it on a
French blog (just love those french blogs), but it was only 3 pieces.
So simple it was - just my kind of project.
I decided to add a 4th piece to give it more dimension. The purple
needlebook is made from purple fleece & white felt. When you place the needle in it
& your hand rubs against the fleece - it feels so soft.
The matching scissors fob is just 2 pieces. It also has a small purple
butterfly that I tacked onto one edge.
Feel free to change
the colors. I would love to see yours when you finish. Pattern will
be coming soon.
by Hopblogger


Monday, June 7, 2010

Occasionally, I like to make....

my own fabric. Have you ever tried it. If not, all you do is
take a large square of white or unbleached cotton sheet or muslin. The
size of the square is up to you. For me, I generally use a
17inches X 17inches. This gives me plenty of room to make my
items small or large. Sometimes there is plenty left over for other
projects. After my square is cut - just take strips of fabric skinny or
fat and sew each strip down upon the square until the square is no
longer visible. I use scraps of fabric from many things.
(also be sure to catch all seams so there isnt anything missed).
Then just cut it like its fabric! You cannot mess it up.
My little sewing set is small. The square of fabric was half used up.
Also notice that I didnt hem anything. It is scrappy & fun!
So quick & easy.
All of these scraps are from the 80's. The ties are skinny
pink shoelaces that was in a prior garment of long ago.
The color was too pretty to trash. About time that I used them.
Everything fits neatly inside the bag. Maybe I should have lined
the bag? - nah. This way if I must fix the bag in the future
all I have to do is to sew a patch on top & it would be easy to
sew from the inside.
Try it - you just might like it!
by Hopblogger
Tuesday, June 1, 2010

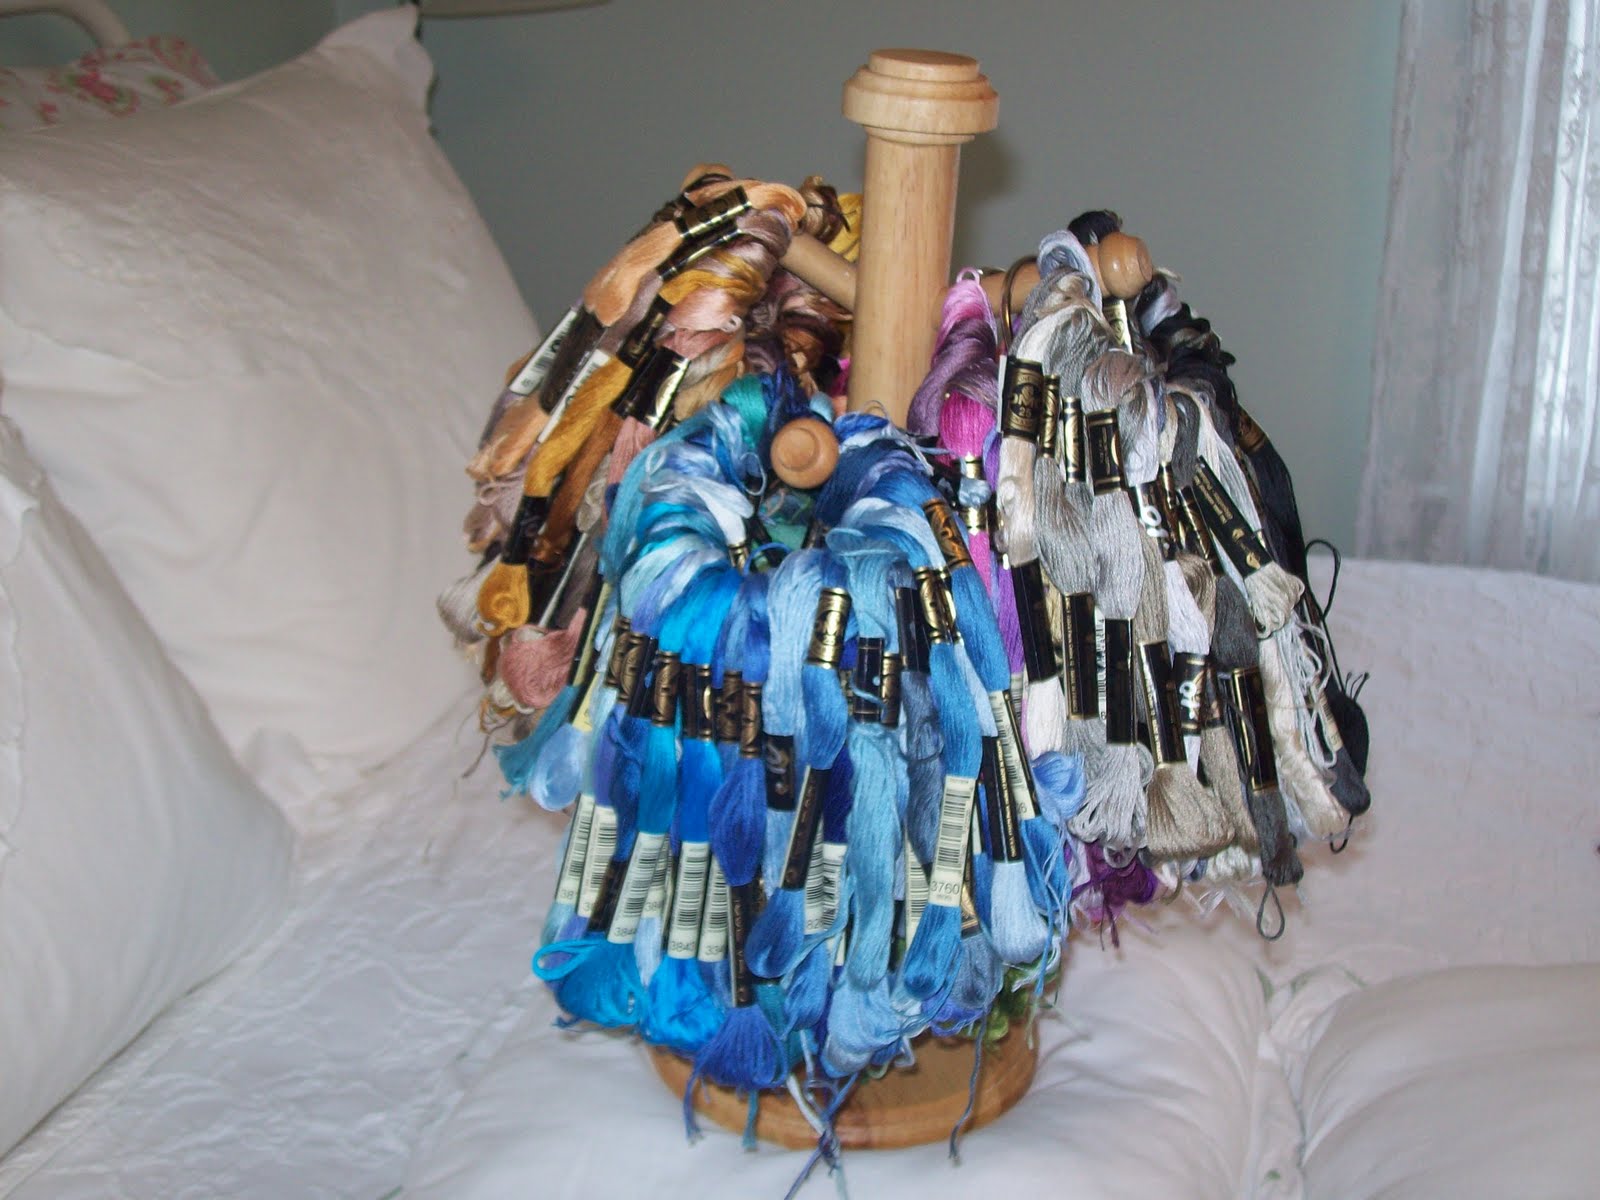
Another use for a COUNTERTOP CUP RACK??

Sorry it has taken me so long to post. My new hutch that my
DH put together - is finished and
now sits on top of my sewing table.
The only thing left that it needs is the trim put on. It is taking a while
to organize everything. Still I am not through so bear with me.
I will post pictures of what everything looks like, later on. Most people
like the plastic bobbin boxes. I dont like all of that winding. By the time
that you wind it all you could have already been stitching. The idea of
placing floss on rings is not a new idea but my idea is!
I hope that you like my new IDEA this week about the
COUNTERTOP CUP RACK. Surely you used to have
one or perhaps you still have it. Take yours or someone else's!! And
display it as a FLOSS HOLDER. Yep, thats right. Its perfect.
First: sort your colors by grouping together color families.
Reds & pinks, yellows & oranges, blue, purples etc... That is how
I have seen others doing it.
Second: thread all of your floss onto a shower ring or floss ring. Mine
is threaded on the large metal floss rings by DMC.
Third: once floss is on the rings then place it on the cup hooks.
You can easily find your color that you are looking for in 2 ways. Either
you know what number each color is or you be sure to
download DMC's color chart and place the chart close to this idea.
That way you will always know what color is in what family.
Also, when the floss becomes too small to hang from the ring - then
wind it on a bobbin & put in a plastic floss box if you like. Or you can
put the leftover pieces in a pile & save it for all of those odd jobs where
you need bits and pieces. The 4th photo shows the top where you
can store extra rings. Look at that, everything is together!
The last photo shows the floss cup rack on my new hutch. By the way
my mothers jewelry box that turned into a floss box is still just that.
Only now it stores specialty threads like the linen floss & variegated flosses.
Hope you like this idea.
by Hopblogger